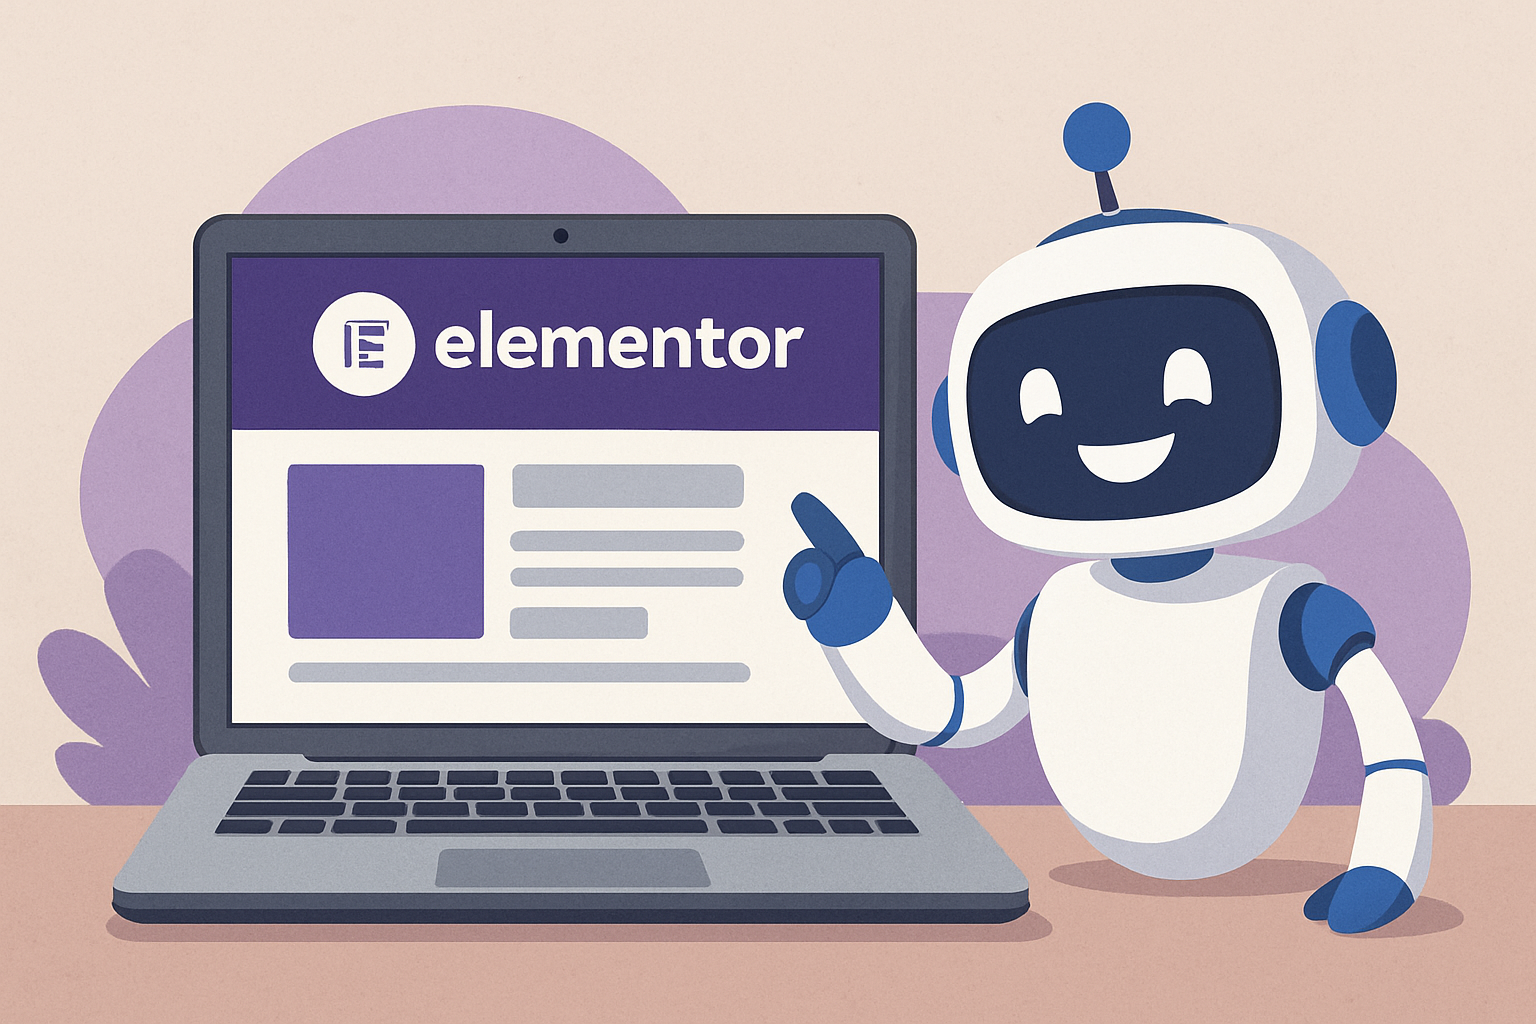
How To Add an AI Chatbot To Your Elementor Website
Learn exactly how to add an AI chatbot to your Elementor website. Our step-by-step guide shows you how to bring smart, automated support to your Elementor-built pages in just a few minutes.
If you’ve built a stunning website with Elementor, you already know the power of beautiful, flexible design. But what if you could add smart, automated customer support to your pages — without sacrificing your site's clean look or spending hours on setup?
In this guide, we’ll walk you through exactly how to add an AI chatbot to your Elementor website using EnvokeAI’s AI Chat Agents platform — making it easy to bring real-time support, lead generation, and smart automation to your WordPress site in just minutes.
Why Add an AI Chatbot to Your Elementor Website?
Elementor gives you incredible control over how your website looks and feels — but an AI chatbot takes your website beyond design and into real-time engagement.
Here’s how adding an AI chatbot benefits your Elementor site:
- 24/7 customer interaction: Help visitors instantly, even when you're offline.
- Lead capture made easy: Collect visitor information through friendly, natural conversations.
- Automate FAQs: Free yourself from repetitive questions about services, pricing, shipping, bookings, and more.
- Boost conversion rates: Engage hesitant visitors, recommend products or services, and guide them to take action.
- Seamless integration: Add a chatbot without disrupting your site's design or performance.
And the best part? With AI Chat Agents by EnvokeAI, it’s beginner-friendly — no coding or technical skills required.
Meet AI Chat Agents: A Smart Companion for Elementor Sites
AI Chat Agents is a powerful yet easy-to-use platform that allows you to create and manage custom AI-powered chatbots — designed to fit perfectly into any WordPress or Elementor-built website.
Why Elementor users love AI Chat Agents:
- Drag-and-drop friendly: Works seamlessly alongside your Elementor design process.
- Brand customization: Match your chatbot's look to your site’s fonts, colors, and visual style.
- Smart AI learning: Teach the chatbot about your services, products, and common visitor questions.
- Knowledge base management: Upload PDFs, paste text, or link websites to expand your bot’s intelligence.
- Live management dashboard: Track chats, analyze performance, and update your chatbot anytime.
Let’s jump into the step-by-step setup!
Step 1: Sign Up for AI Chat Agents
First, head over to AI Chat Agents by EnvokeAI and click Get Started.
Creating your account is simple:
- Enter your email address
- Choose a password
- Access your personal chatbot dashboard immediately
You’ll be ready to build and customize your chatbot in just minutes.
Step 2: Subscribe to a Plan
Once you’ve registered, choose a subscription plan based on your business needs.
All plans offer:
- Knowledge base uploads (PDFs, text, websites)
- Real-time chat tracking
- Full branding customization
- Platform updates and improvements
Select your plan, complete the quick checkout process, and unlock full access to the platform.
Step 3: Create Your Elementor AI Chatbot
Now it’s time to create and customize your chatbot:
- Name your chatbot: Pick a name that matches your brand’s tone — professional, casual, playful, or formal.
- Customize the design: Choose colors, fonts, chat bubble style, and avatar to seamlessly match your Elementor site's design.
- Add business information: Teach the AI about your services, products, contact info, hours, and FAQs.
- Expand the knowledge base: Upload documents like product guides, link your FAQ page, or manually enter common questions and answers.
Your chatbot will be ready to provide smart, helpful answers right from the start — tailored to your business.
Step 4: Embed the Chatbot on Your Elementor Website
After creating your chatbot, AI Chat Agents will provide you with a unique embed code — a small JavaScript snippet.
Here’s how to add it to your Elementor-built website:
- Log into your WordPress Dashboard.
- Navigate to your Elementor page or template where you want the chatbot to appear.
- Drag a HTML widget onto your page (wherever you want the chatbot to load, typically near the footer or via site-wide settings).
- Paste the chatbot embed code inside the HTML widget.
- Save and publish your changes.
Alternatively, if you want it across every page, you can paste the code in Appearance > Customize > Additional Scripts or in your theme’s footer.php just before the closing </body> tag.
Once published, your AI chatbot will appear across your Elementor pages, ready to assist every visitor.
Step 5: Manage and Optimize Your AI Chatbot
Once live, managing your chatbot is effortless with the AI Chat Agents dashboard:
- Monitor real-time chats: See how visitors are interacting with your AI.
- Update knowledge base content: Add new promotions, service updates, FAQs, or seasonal information.
- Customize chatbot tone: Adjust the personality of your AI — whether you want it to sound corporate, casual, or helpful and friendly.
- Analyze performance: Learn what questions visitors ask most and optimize your site and chatbot experience accordingly.
Continuous improvement keeps your chatbot sharp — and your customer service top-notch.
Smarter Support, Smarter Elementor Sites
Your Elementor website already looks amazing — now it can be even smarter.
Adding an AI chatbot through EnvokeAI’s AI Chat Agents platform helps you automate support, engage visitors instantly, capture leads, and provide a seamless user experience — all with minimal effort.
Whether you run a small business, an online store, or a personal brand site, a smart chatbot can boost your website’s performance and save you countless hours.
Ready to bring real-time AI conversations to your Elementor site?
👉 Sign up for AI Chat Agents today and launch your chatbot!