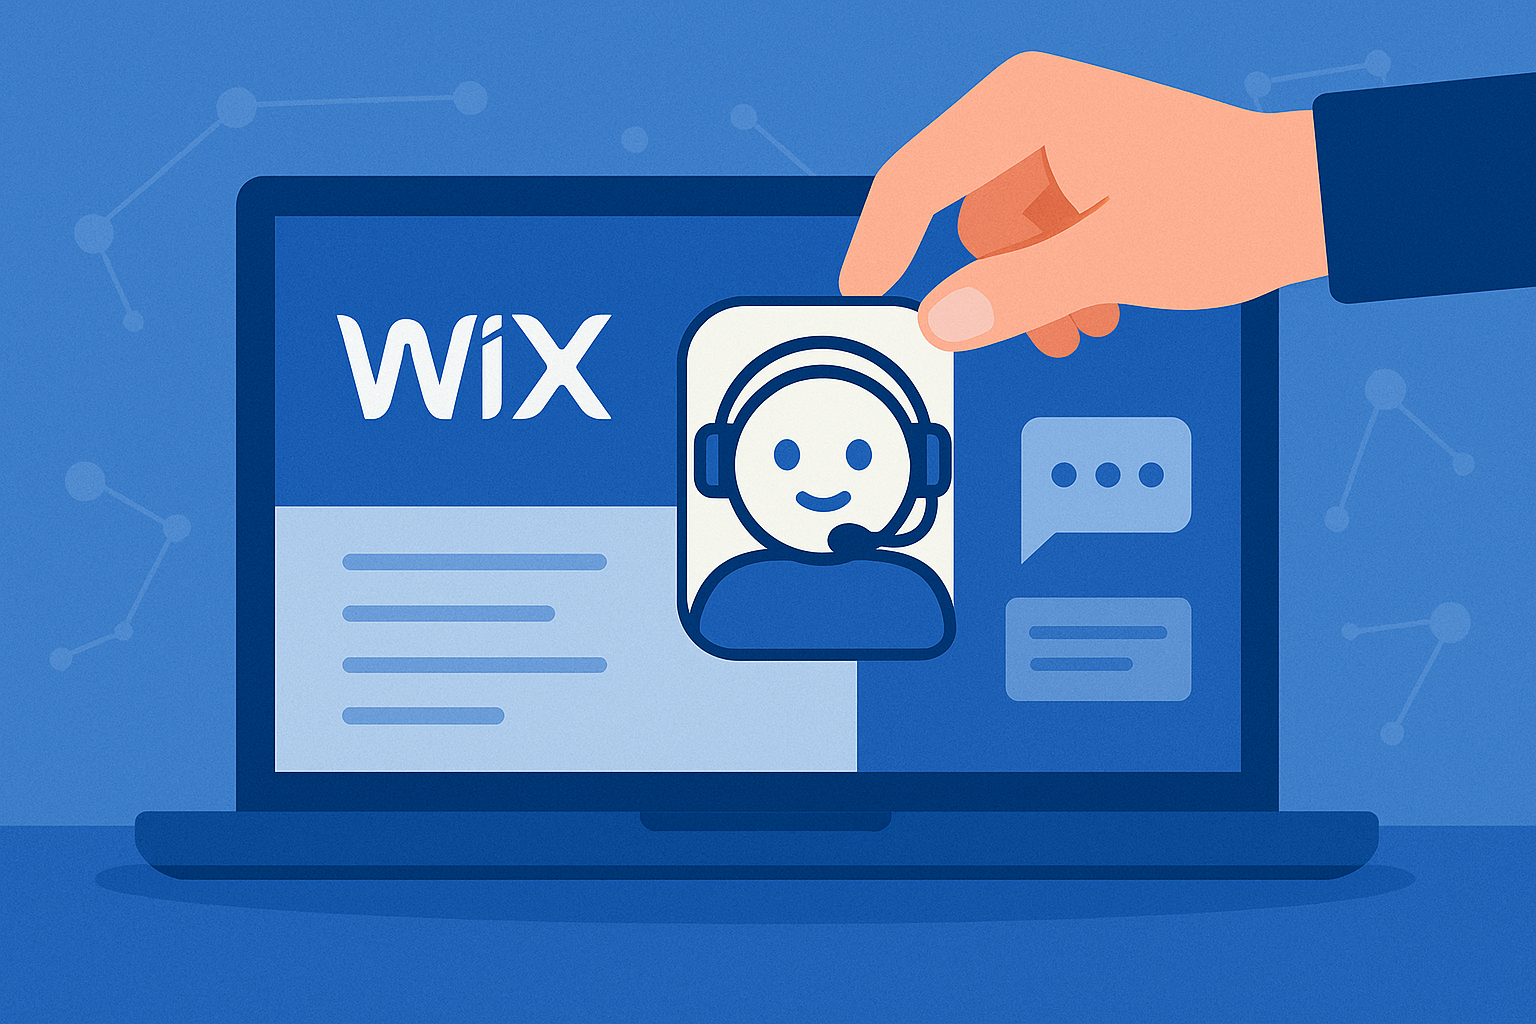
How To Add an AI Chatbot To Your Wix Website
Want to know how to add an AI chatbot to your Wix website? Our complete tutorial shows you how to quickly install an AI-powered chatbot on Wix, boosting customer support and engagement effortlessly.
Looking for a way to make your Wix website even more interactive and customer-friendly? Adding an AI chatbot could be the perfect solution. With a chatbot, you can engage visitors, answer questions instantly, and provide 24/7 support — all without lifting a finger.
In this guide, we’ll walk you through exactly how to add an AI chatbot to your Wix website quickly and easily using EnvokeAI’s AI Chat Agents platform. No technical knowledge needed — just a few simple steps and you’ll be up and running!
Why You Should Add an AI Chatbot to Your Wix Website
Wix is a fantastic platform for entrepreneurs, small businesses, and creatives who want to build stunning websites without complex coding. But while a great design is essential, you also need real-time engagement to turn visitors into customers.
Here’s how an AI chatbot can boost your Wix website:
- Instant communication: Greet visitors, answer FAQs, and guide them through your services in real time.
- Lead generation: Capture visitor details through conversations and turn browsers into paying customers.
- 24/7 availability: Provide support even when you’re offline, asleep, or busy running your business.
- Improved customer experience: Help users find what they need faster, creating a smoother website journey.
- Lower support costs: Automate common questions and free up your time for higher-value activities.
Thanks to platforms like AI Chat Agents by EnvokeAI, adding this functionality is easier than ever.
Meet AI Chat Agents: The Easiest Way to Add a Chatbot
AI Chat Agents by EnvokeAI is an intuitive platform that allows you to create and manage AI-powered chatbots for any website — including Wix — without writing a single line of code.
Some standout features include:
- Simple chatbot builder: Create and customize your chatbot’s appearance, tone, and behavior.
- Knowledge base uploads: Teach your AI using plain text, URLs, or PDF files.
- Real-time chat monitoring: Manage conversations and analyze visitor interactions.
- Full branding control: Match the chatbot’s colors, fonts, and avatar to your Wix website’s design.
- Fast setup: Go live with your chatbot in under 10 minutes.
Now, let’s go through the full process step-by-step.
Step 1: Create an Account on AI Chat Agents
Start by visiting AI Chat Agents by EnvokeAI and clicking on Get Started.
Signing up only takes a minute — simply enter your email address, create a password, and you’ll be ready to access your dashboard.
Once you’re in, you’ll be able to start building your first chatbot right away.
Step 2: Subscribe to a Plan
To unlock all platform features, you’ll need to subscribe to a plan.
AI Chat Agents offers flexible and affordable subscription options depending on the size of your business and your support needs. Plans include:
- Knowledge base management
- Real-time visitor chat history
- Ongoing updates and improvements
Select your preferred plan, enter your payment details, and you’ll be ready to build your AI chatbot.
Step 3: Build Your Wix AI Chatbot
Here’s where you get creative. Inside your AI Chat Agents dashboard, click Create Chatbot and follow these simple steps:
- Set your chatbot name: Give your AI assistant a friendly or professional name that fits your brand.
- Customize branding: Match your website’s design with custom colors, fonts, and an optional logo or avatar.
- Provide business info: Teach the chatbot about your services, company background, pricing, and FAQs.
- Upload knowledge base content: Boost the chatbot’s intelligence by uploading PDFs, linking your website for content scraping, or pasting plain text information.
You have full control over how your chatbot interacts with visitors.
Step 4: Embed the Chatbot on Your Wix Website
Once your chatbot is ready, the platform will generate a unique embed code for you — a simple piece of JavaScript.
Adding it to your Wix site is super easy:
- Log into your Wix Editor.
- Select the page where you want the chatbot to appear (or choose your site’s settings if you want it on all pages).
- Click Add > Embed Code > Embed HTML.
- Paste your AI Chat Agents embed code into the box.
- Resize or position the embed frame if needed, or hide the frame if it’s a floating chatbot.
- Save and publish your changes.
That’s it — your AI chatbot is now live and ready to start talking to your visitors!
Step 5: Manage Conversations and Improve Your AI
Once your chatbot is active on your Wix website, you’ll be able to manage everything from your AI Chat Agents dashboard:
- Review conversations: See live chat sessions and visitor questions.
- Update knowledge bases: Add new FAQs, PDFs, or text content to keep your AI chatbot up to date.
- Optimize behavior: Adjust your system prompts and customize your AI’s tone and style if needed.
- Analyze performance: Monitor engagement and fine-tune your chatbot for better results over time.
Whether you’re selling products, offering services, or just providing information, your chatbot will become an essential part of your customer journey.
Power Up Your Wix Website With AI
Adding an AI chatbot to your Wix website has never been easier. With EnvokeAI’s AI Chat Agents platform, you can create a fully branded, intelligent chatbot that offers real-time support, captures leads, and enhances customer experiences — all without touching a single line of code.
Whether you're a small business owner, coach, creative, or entrepreneur, an AI chatbot is a must-have tool to take your website to the next level.
Ready to get started?
👉 Sign up for AI Chat Agents today and launch your AI chatbot in minutes!